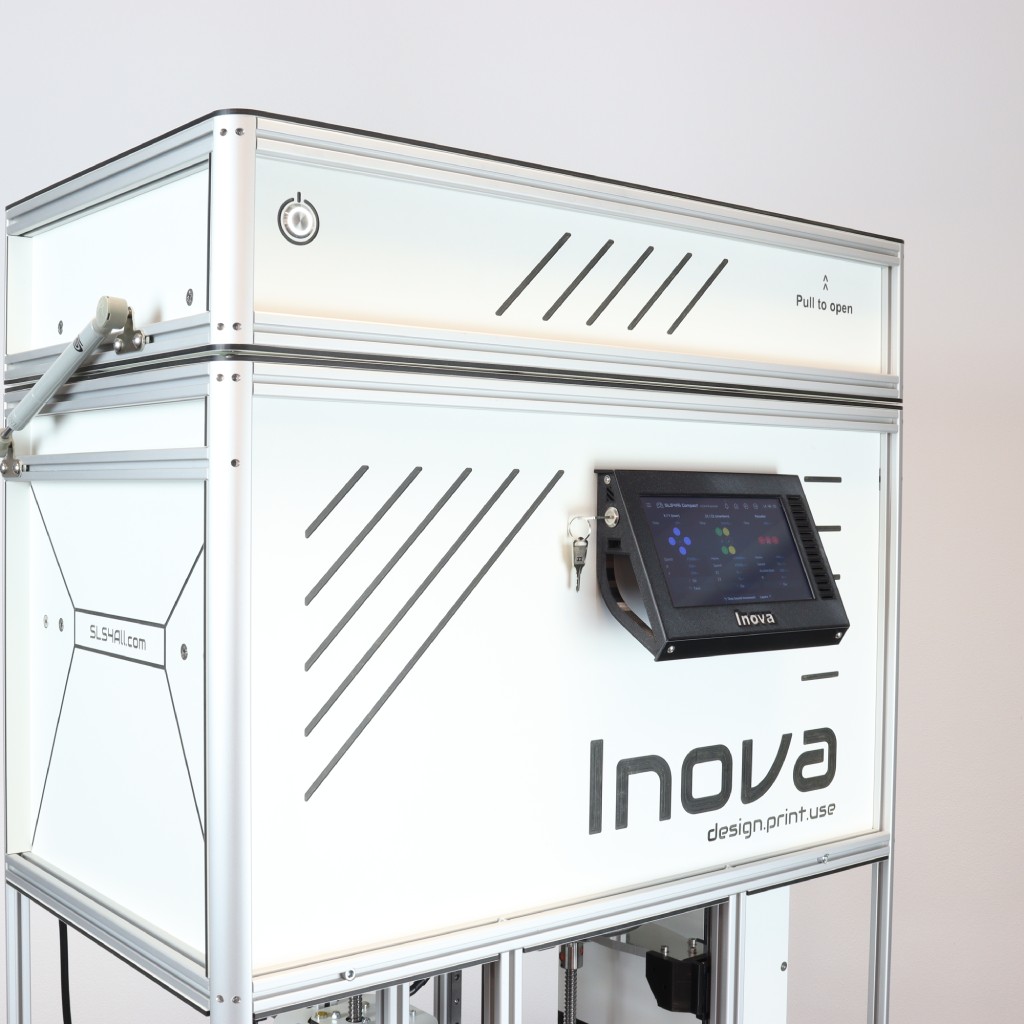
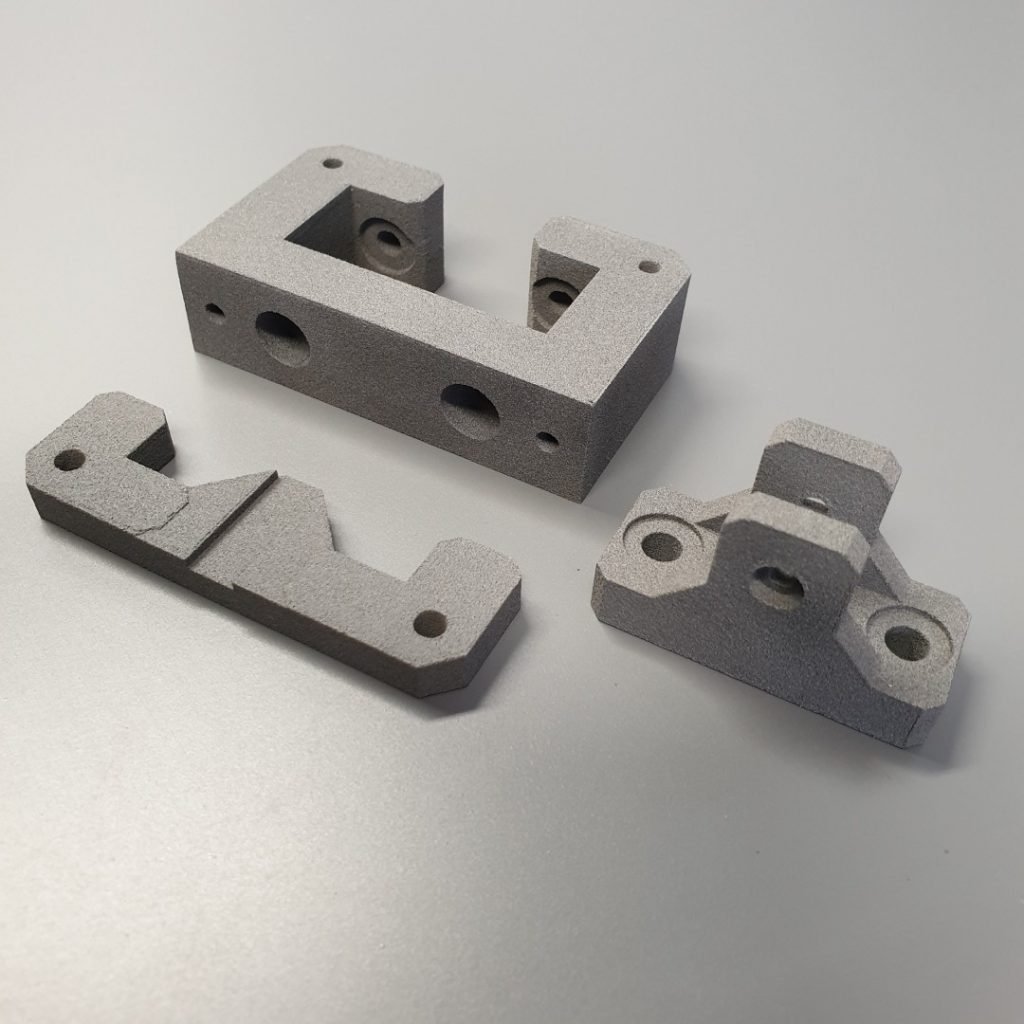
Welcome to
DIY SLS 3D Printer Build Blog & More
PRINT cHAMBER VOLUME: 177 X 177 X 200MM
MIN. LAYER THICKNESS: 0,1MM
HEAT CONTROL: PRINT & POWDER CHAMBER, PRINT AREA SURFACE
NR. OF CONTROLLED HEATING ELEMENTS: 14
CONNECTIVITY: WIFI, LAN, USB
USER INTERFACE: 7″ TOUCH SCREEN LCD
ADD-ONS: 5MP ON-BOARD CAMERA & THERMO CAMERA
FW & SW: HIGHLY MODIFIED KLIPPER FW, OWN CONTROL SW
Progress as of 1 May 2024
News
It’s Here – Build Your Own SLS 3D Printer!
It’s been ages since my last blog post but today I have a very special reason to do so. I’m happy to announce that full sets of parts of our SLS4All Inova 3D printer are nearing full production readiness. It means that “kits” you’ve asked me for many times are on the way and you’re …
Searching For Printer Limits
We are currently experimenting and tuning the printer to be able to deal with the high packing densities. I know that high densities can, under certain circumstances, affect the quality of printed parts, but our goal was to find and move limits of the printer. Therefore, we intentionally broke many common rules related to the …
Interactive SW Mock-up
I finally found some time and finished the already announced interactive mockup of our software package for SLS printing. So if you want to see and explore it, there is nothing easier – just check it out right here 🙂 MockUp is optimized for Full HD (1920×1080) resolution in full-screen mode, desktop only. We are intensively …
Small Taste Of FW/SW
I have prepared a small taste of our firmware/software solution. Check out the new gallery containing some screenshots that will give you a better idea of the basic concept of our UI. I’m also preparing an interactive mockup that will be much more detailed. In addition to the UI structure, it will also give you …
Desired Print Quality Is Here!
I’m really excited today because I can say that the printer is finally printing at the quality I dreamed of when I started this project. It took us (me and Pavel) a total of 3 years and 4 months (which sounds terrible). It means several thousand hours with huge swings of satisfaction when something is …
Parts’ Dimensions Look Great
I’m glad to see that the large amount of time and effort that has gone into the accuracy of the scanning and printing itself has paid off. Here are some measurements that show surprisingly good results, deviating from the ideal dimensions by only hundredths of a millimeter. The printer thus meets the normal print service …
Printing Functional Parts
The software and hardware tuning of the printer seems to be entering its final stages. So it’s a good time to try printing some functional parts. In addition to changes in the slicing math, I also tested a new mechanical solution to remove repetitive z-axis artifacts caused by the ball screw. I’m really happy to …
Greetings In The New Year
This is the first test print of the year! Changes and improvements of our slicer have finally resulted in an improvement in the surface quality of the parts. But despite this, I am still not satisfied with the surface quality in the z-axis.It seems that both mechanical and another software changes need to be made. …
Assembly Instructions Are Born
The winter nights are long and so not only testing but also assembly instructions are moving forward. I’m trying to cover all aspects of build, which is quite time consuming. I hope it will be understandable and the build will be really fun and informative. To be honest – it’s quite an annoying activity, but …