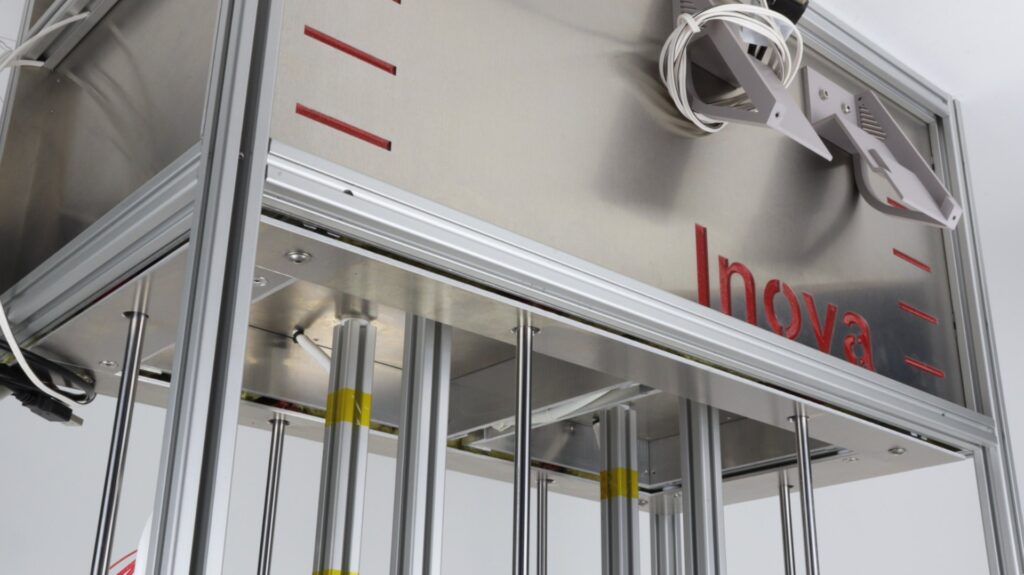
One of the tricky parts of the Inova SLS 3D printer project was the arrangement of the optical components. Basically, it was not too complicated topic itself, but it was completely out of my experience and focus field. I had just general idea how should the SLS laser and optics’ arrangement look like and didn’t know any of specific details. If anyone reading this post is expert within the optics, please don’t punish me too much in comments for following paragraphs. I will appreciate your inputs and proposals how to make this part of the Inova design better.
Coming back to the selective laser sintering principles I needed principally three main optical components:
- source of laser radiation
- collimating and focusing lenses
and in accordance with posts related to the Inova key design parameters and electronics & firmware selection
- the galvanometer system for X and Y axis moves.
Common laser source types
I started with search on the laser’s types and their pros and cons with respect to my intended use. Based on the so-called gain medium (substance emitting light of a specific wavelength when excited by light) following laser types are in game:
- Gas Lasers using CO2
- Solid-State Lasers using Nd:YAG (neodymium-doped yttrium aluminum garnet)
- Fiber Lasers using Ytterbium
- Semiconductor Lasers (Laser Diodes)
Listed technologies are commonly used in the SLS laser printing area as well as in the laser cutting and engraving.
Each of these lasers has different features like beam quality, its shape, wavelength, etc. Of course, price tag mirroring the technical complexity of each solution is also very different. I can simply summarize that all “big” professional SLS machines have Ytterbium Fiber, Nd:YAG or CO2 gas laser on board. Reason is, these are lasers with high beam quality allowing to print not only grey but also white powder plastic materials. Problem is that the laser technology part of these printers, is relatively huge, complicated, and therefore expensive. If you speak about big printers used for printing 24/7 than it is fine. But it is not my case. That’s why I was looking for something more compact and affordable. In fact, the solution is to my search and knowledge only one – laser diodes.
Diode based lasers
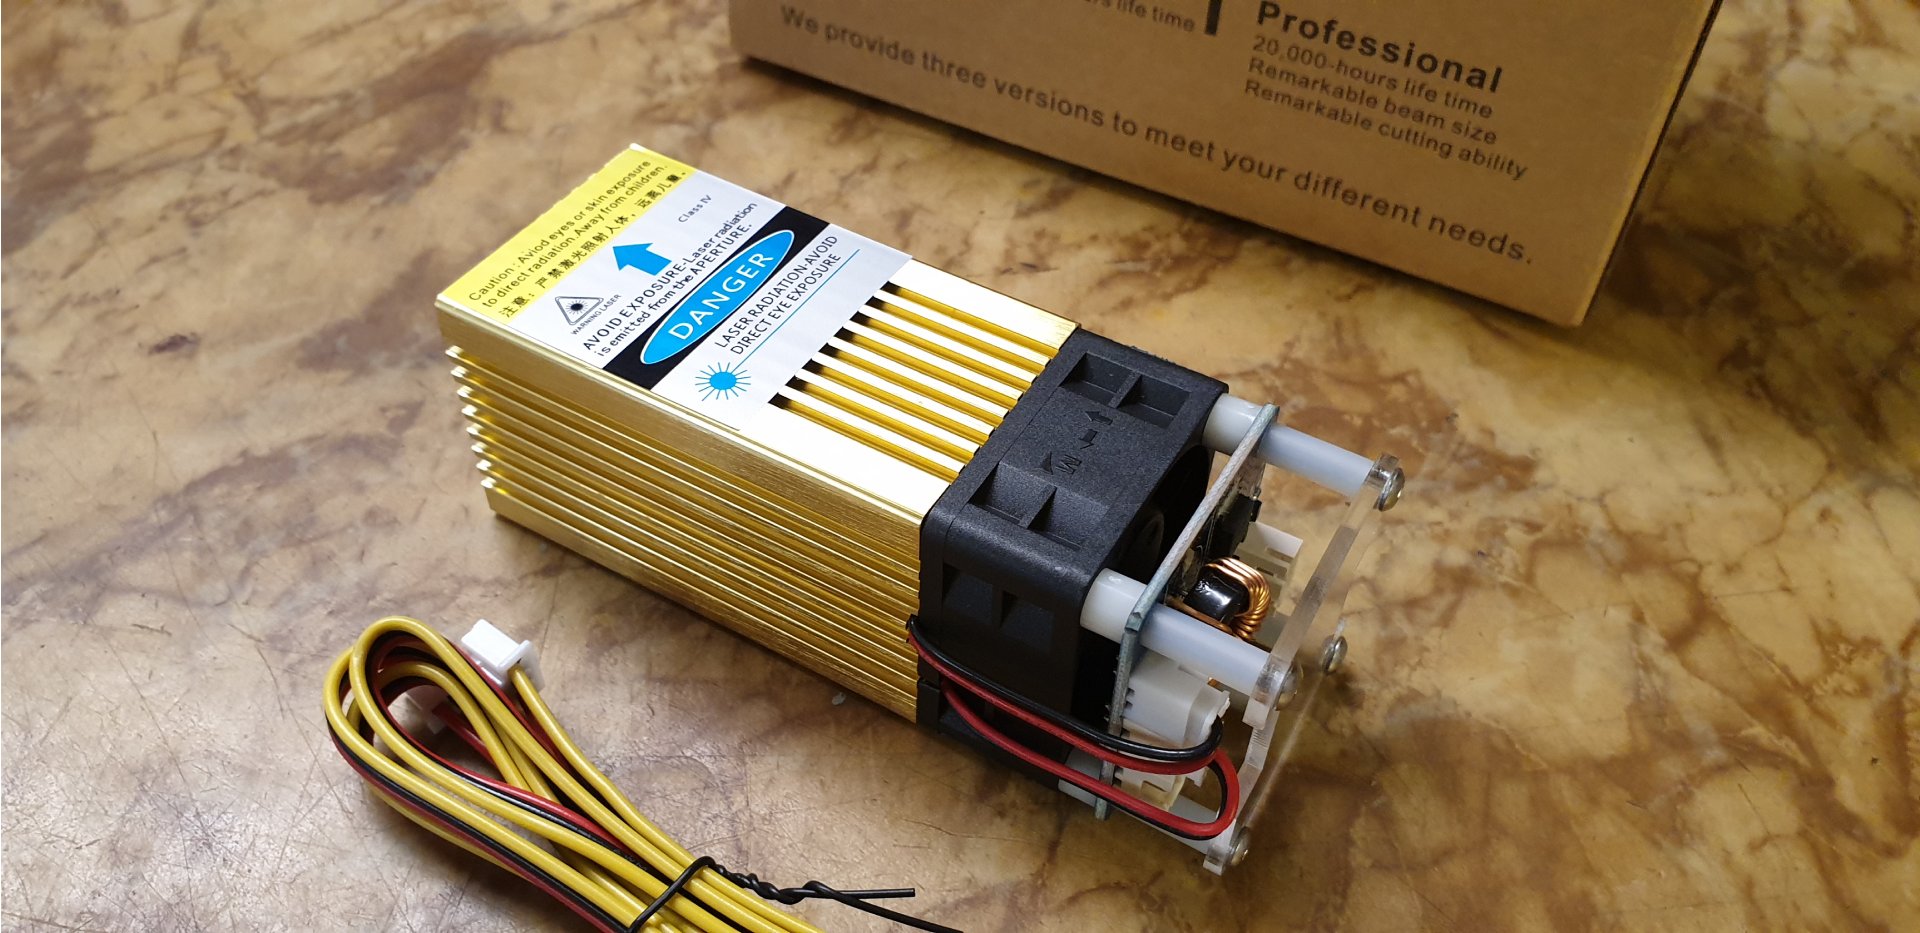
Laser diodes are specific sort of solid-state lasers. They can be bought in different construction types, emitting laser of variety wave lengths and of different power. In SLS laser printers are mostly used wave lengths of blue (450nm) or infrared (808nm) spectrum. Output power is then somewhere between 2 – 5 Watts. When I say power, I have the optical power on my mind. The electric power consumption of the diode or better said the whole laser module (diode + driver + fan) is much higher. It relates with the efficiency of this system. I am using the blue 450nm laser diode module with the optical power of 5W. Together with the driver and fan it represents (according to the specs) approx. 40W on the plug.
Specs are quite often mixing these two figures together. But there is the simple fact which helps. Nowadays, the most powerful basic laser diodes have optical power somewhere around 6W, not more. So, the Chinese shops offering 10W, 30W etc. diode laser modules are always speaking about the power consumption. Therefore, it is not possible to say that 20W laser is more powerful than one having “just” 15W. It is saying nothing about that until you know the optical power of the diode. Another thing is whether the 5W laser diode really have 5W optical power. But it is a different story.
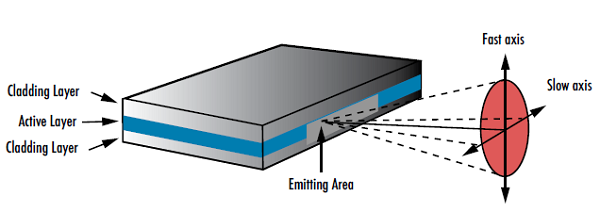
Laser diode beam shape
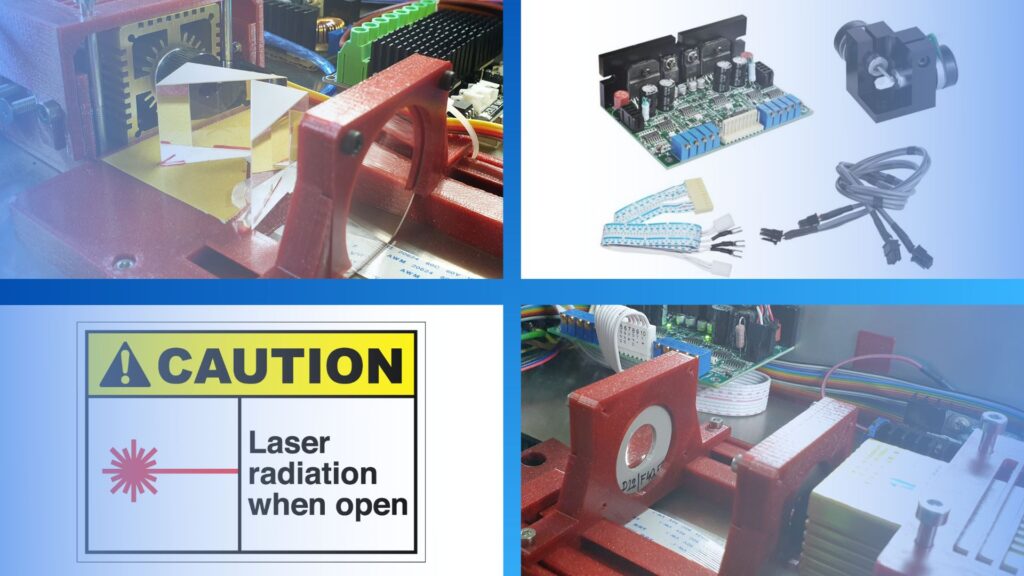
One of laser diodes’ unpleasant characteristics is shape of the laser beam. Even most people think it has some kind of circular form (circle, ellipse), it is the rectangle. This shape causes different light divergence values in X and Y axis you have to count with. Actually, it is not a big problem while focusing laser on the short distance (laser cutter, engraver) but it is not my way. I need long focus distance for my SLS 3D printer and here it becomes really an issue.
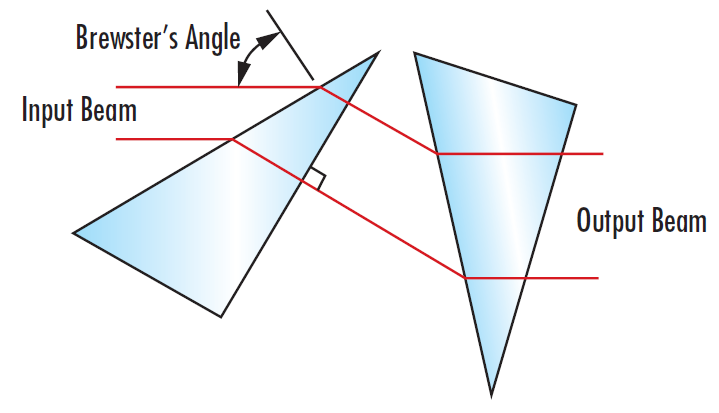
There are several ways how to deal with it. I tried two of these where the first one uses anamorphic prism pair. It consists of two prisms used to reshape and/or resize laser beam. It works on the principle of the light refraction. To compensate the divergences values of the incoming beam, light is in one axis bent. In second axis it just goes through prisms without any change.
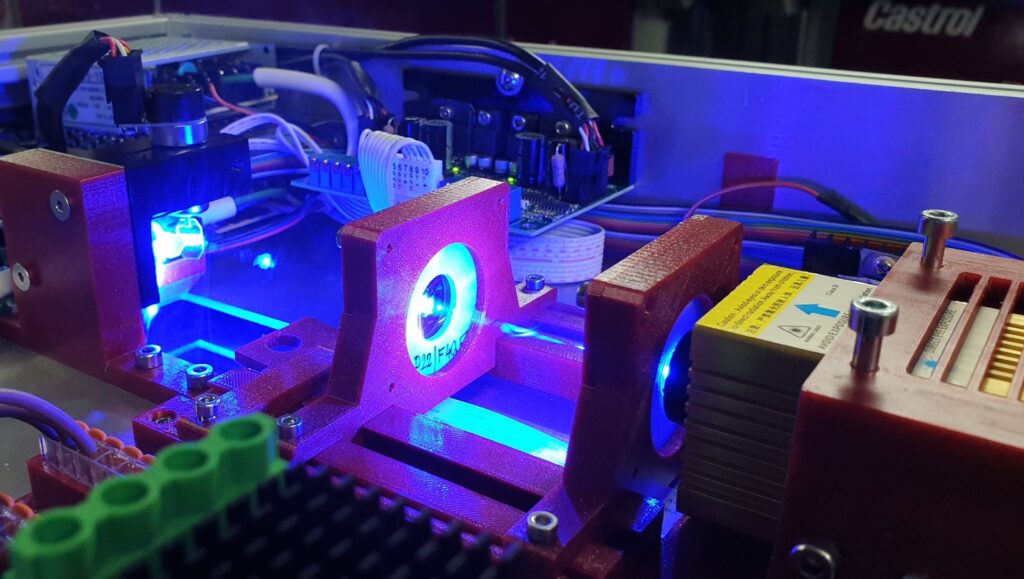
Anamorphic prism pair setup
The right prisms’ setup is not only about the divergence correction. You need to find one which fulfills following requirements:
- make SLS laser beam shape symmetric
- expands beam size
- directs beam towards the first galvanometer’s mirror
As for the first bullet, I have already explained it above. Beam expansion is then another feature of the anamorphic prisms which is your friend. Reason is that bigger the beam shape is, “nicer” (read smaller and of better shape quality) focused spot you get. Complicating thing is that due to the beam bending, beam is also changing its direction. So that beam coming from the laser diode will not be concentric with the rest of its optical way toward the first galvanometer mirror (X-axis). At the end you are looking for this combination of beam features:
- shape symmetry
- shape size as big as possible but still fitting the mirror’s dimensions
- direction hitting the centers of the other optical components
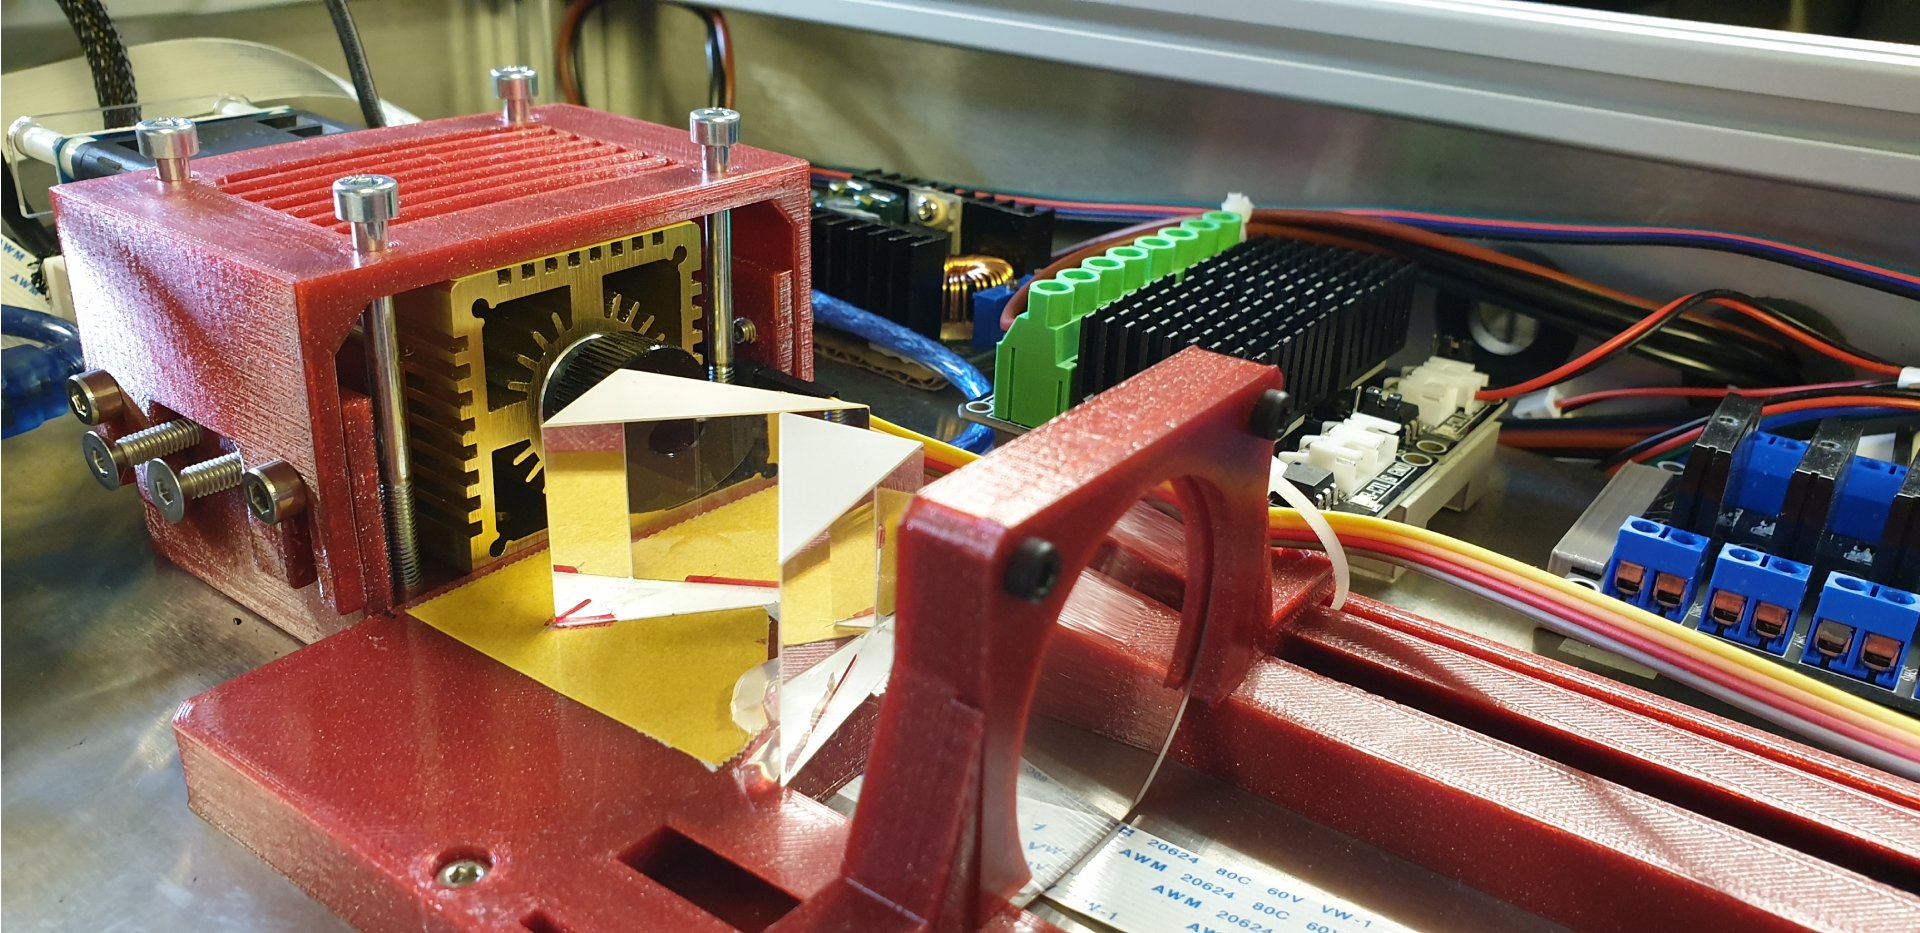
Because you must be gentle and precise during the manipulation with the prisms, it can be pain to find this setup. I spent several hours each time after changing laser module to set it up correctly, which was really annoying.
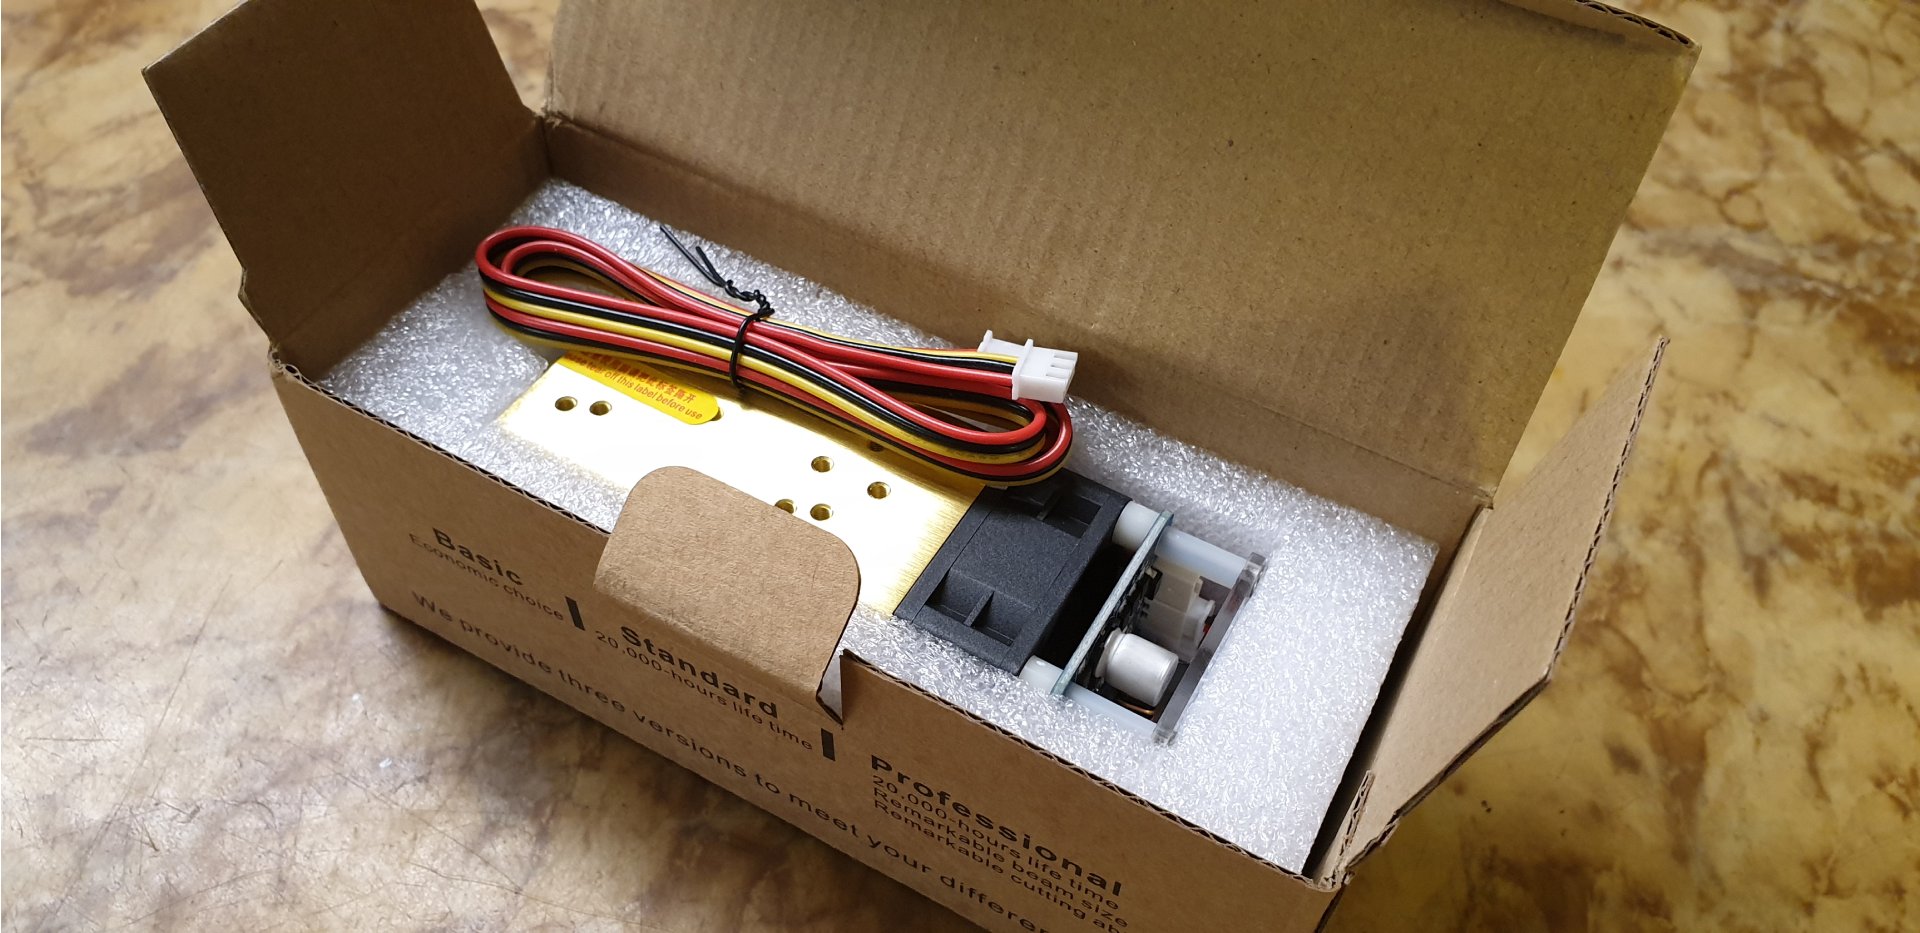
Lasting of laser diodes
I have tested several laser modules with different quality and laser diode construction. If you buy the cheapest laser module (60 – 80 USD range) it is more than probable it will not last long. In my case, it started to lose optical power significantly after few hours – say 15 to 20.
Currently, I am using laser module which should gave me around 20.000 working hours (according to spec). What is even more important – it has embedded so-called FAC lens. FAC stands for Fast Axis Correction and function of this micro-optics lens is self-explanatory. Yes, it is another way how to make laser diode beam’s shape symmetrical. You can avoid the anamorphic prisms because you get nice, quite squared beam profile directly out of diode. With respect to the collimating lens parameters, you may have to deal with the need of beam size expansion.
Laser beam collimating
Collimating lens is placed directly after the laser diode. It forms the divergent lasers’ diode light into the parallel beam. Again, there are several ways how to collimate the beam, but most commonly used is an aspheric lens. Focal length of this lens is then in correlation with the diode divergence angle. You can do the same job with plano-convex or even double-convex lenses. But you will achieve the best beam quality with the first one mentioned lens type.
I needed to expand the size of my SLS laser beam because it was too small to get nice spot. I will definitely tell you how I did it, but you have to wait for my next post. And of course, I will touch there also the problematic of beam focusing and the galvo specific issues.
—
Join us on Discord