It has been fairly over a year since I started to work on my DIY Selective Laser Sintering (SLS) 3D printer project. I didn’t think it will be an easy one, but it is much more complicated than I expected. On the other hand, this complexity is also the main reason why I decided to share it.
I like the basic goal of selective laser sintering which is the production of the functional parts. As compared to the FDM, these have outstanding mechanical, chemical and heat resistant properties which nominate them for prototyping purposes or small series production.
Printing principle is “quite simple” and straightforward. Focused laser beam sinters print material (e.g. PA12 nylon in a form of very fine powder – particular size between 20 and 60nm) together layer by layer using the precise moves of cartesian or mirror system. After a few hours of repeating this process “voila” – nice, smooth, and precise part is born. Actually, at the beginning of my project it was nearly all I knew about SLS. Believe or not, it was really not enough 😊 If you feel the same, watch this nice and descriptive video which explains the SLS printing basics.
Previous DIY SLS Printer projects
It is possible to find tons of DIY FDM (Fused Deposition Modeling) printer builds which are somehow documented. But in SLS world is reality quite different. Despite a few DIY projects popped up on internet during last say 10 years, these are often just poorly documented. Maybe that is why it became even more interesting theme to me.
I hope I can change that status through this blog and related activities. I want to touch here on all the problems I have faced and, hopefully, show their solution. With a piece of luck, it could help to other enthusiasts who will be interested in building own SLS printer.
If you want to see the approaches and outcomes of my “predecessors” I shortlist them:
- Andreas Bastian (OpenSLS): https://reprap.org/wiki/OpenSLS
- Brandon Fosdick (Ester SLS Printer): https://hackaday.io/project/3092-sls-3d-printer, https://3dprint.com/17570/affordable-sls-3d-printer/
- Vulcaman (JRLS 1000): https://www.instructables.com/DIY-SLS-3D-Printer/, https://www.instructables.com/JRLS-1000-DIY-SLS-3D-PRINTER/
- Yvo de Haas (Oasis 3DP): https://ytec3d.com/oasis-3dp
- Luke Cunningham (OpenFuse): https://www.youtube.com/watch?v=FHop0IwzWrM, https://www.projectopenfuse.com
- Nick Osborn: https://www.youtube.com/watch?v=OkuVwBqNr4k
I do not say these are the only ones. You will definitely find more. It is just my selection of impressive and inspirative ones.
Project goal & Printer features
I defined my target like it’s common in DIY projects. It means to design, build and test the prototype of the 3D printer utilizing the selective laser sintering technology. Of course, I also wanted to make it in the cheapest way but after some time I had to change the word “cheapest” to “affordable”. Sad but necessary. The reason why is, I would say, always the same. The devil lies in the details which came up from my visions and expectations – here are planed features of my dreamed printer:
- decent print speed – quicker than common FDM printers
- reasonable print volume – allowing to print variety of functional parts
- good quality of prints – reaching the well-established desktop or industrial SLS printers
- responsive and reliable electronics – based on the 32bit chipsets
- safe to operate – considering relatively powerful laser will be on board
- easy to build and use
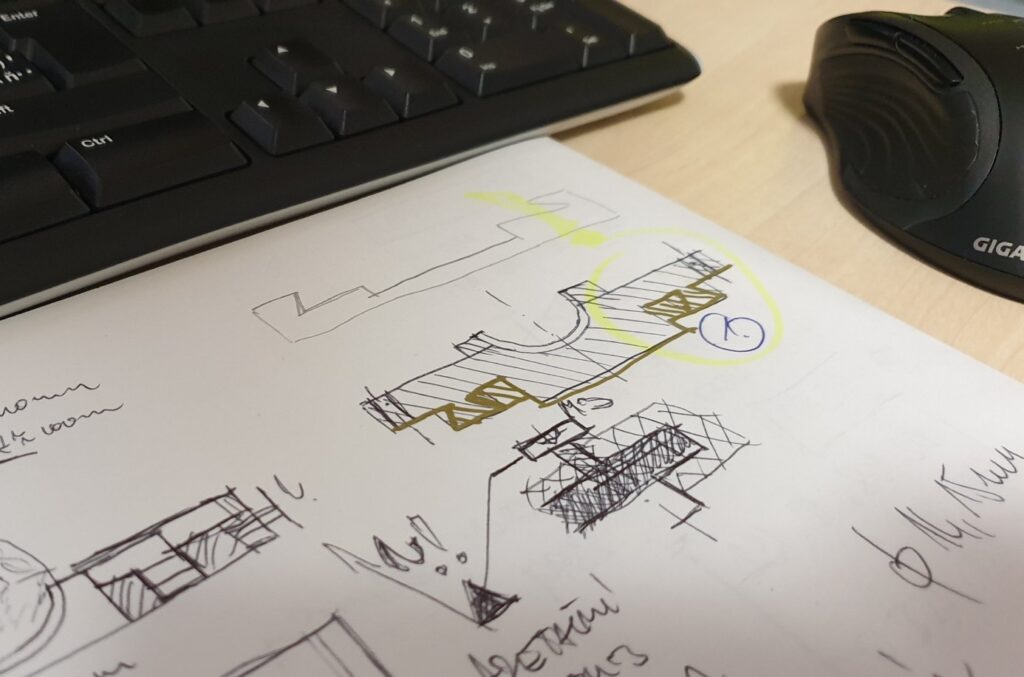
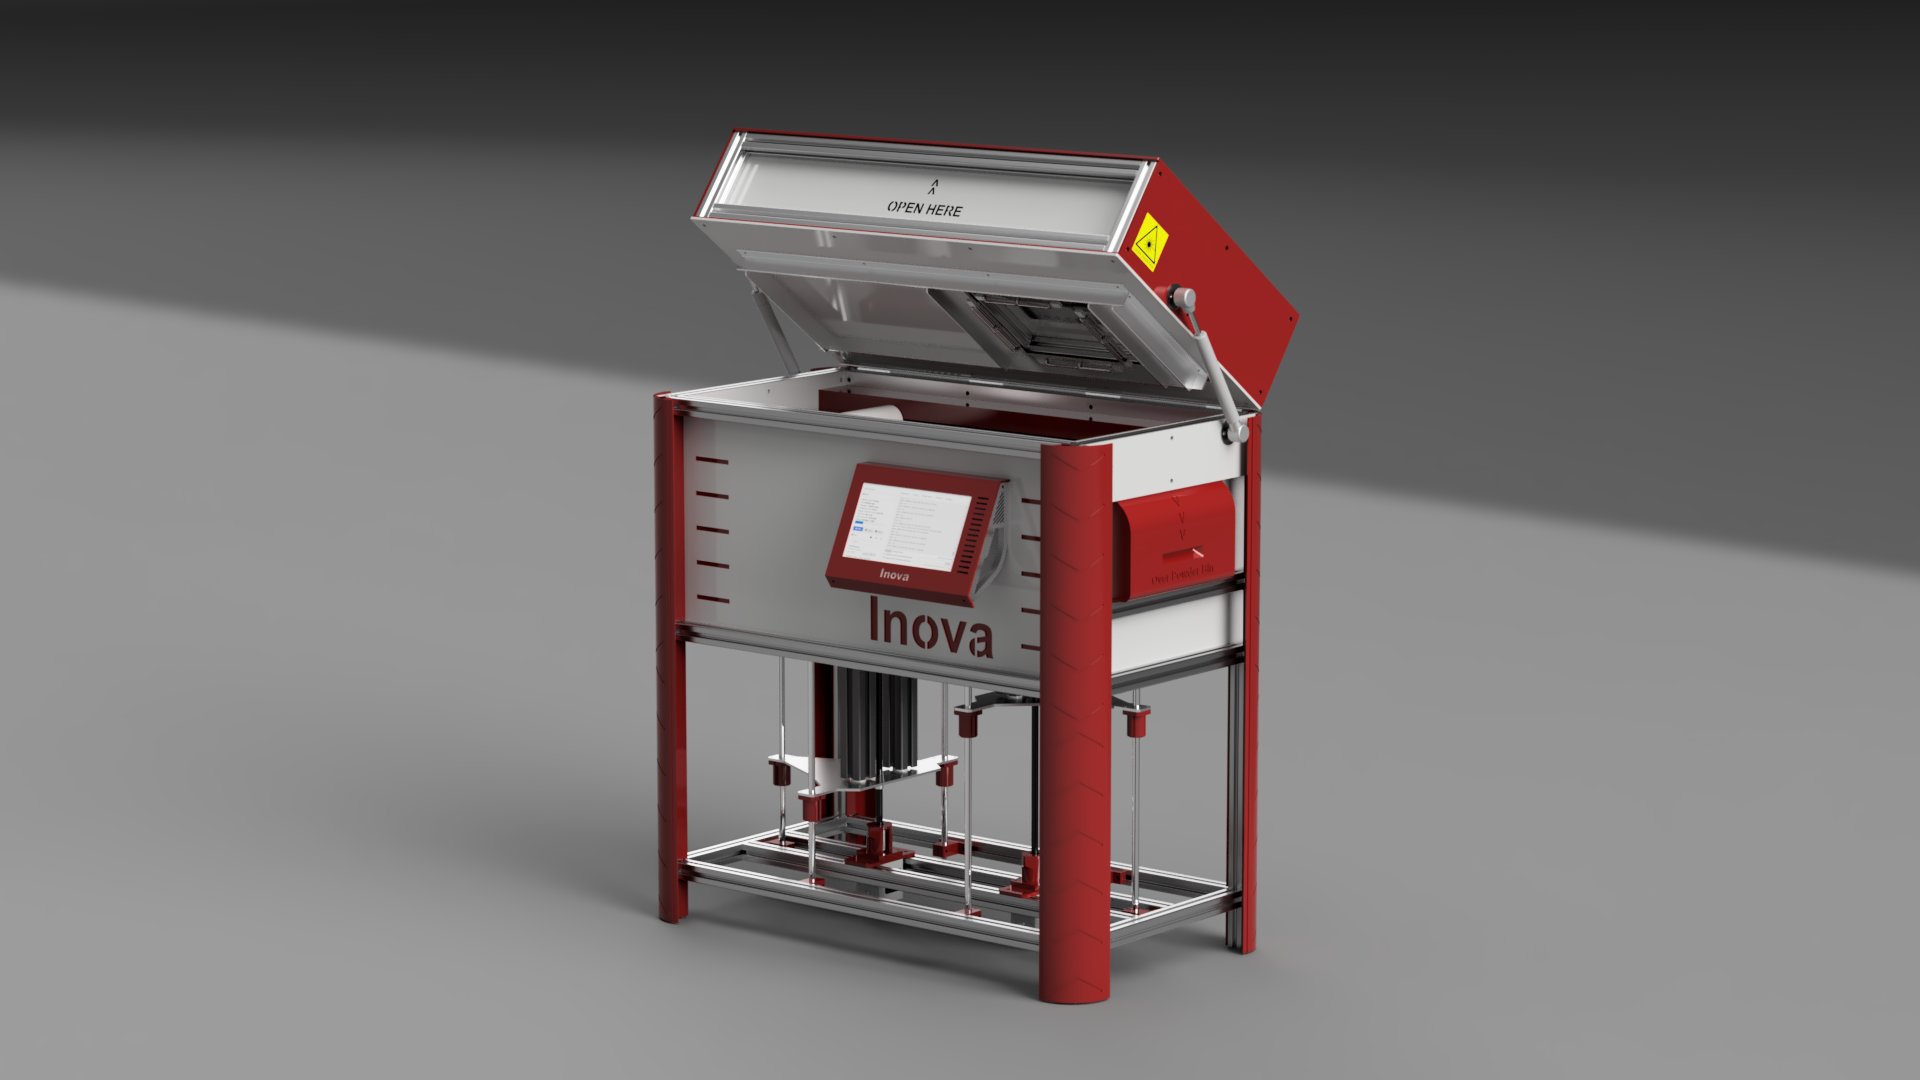
If the “devil” is still not visible for you, I will unhide every piece of him for you in this build blog. I will focus my posts on the key design parameters, electronics, heating, firmware, optics, etc. and of course on the build process itself. In other words, I will show you how I got from nothing to here
or here 😉
Current status of the project
Yes, it’s a question if I will ever get to final 3D printing but I think I am very close. Say, in last 15% of the project which means that I have already:
- designed all parts in Fusion 360
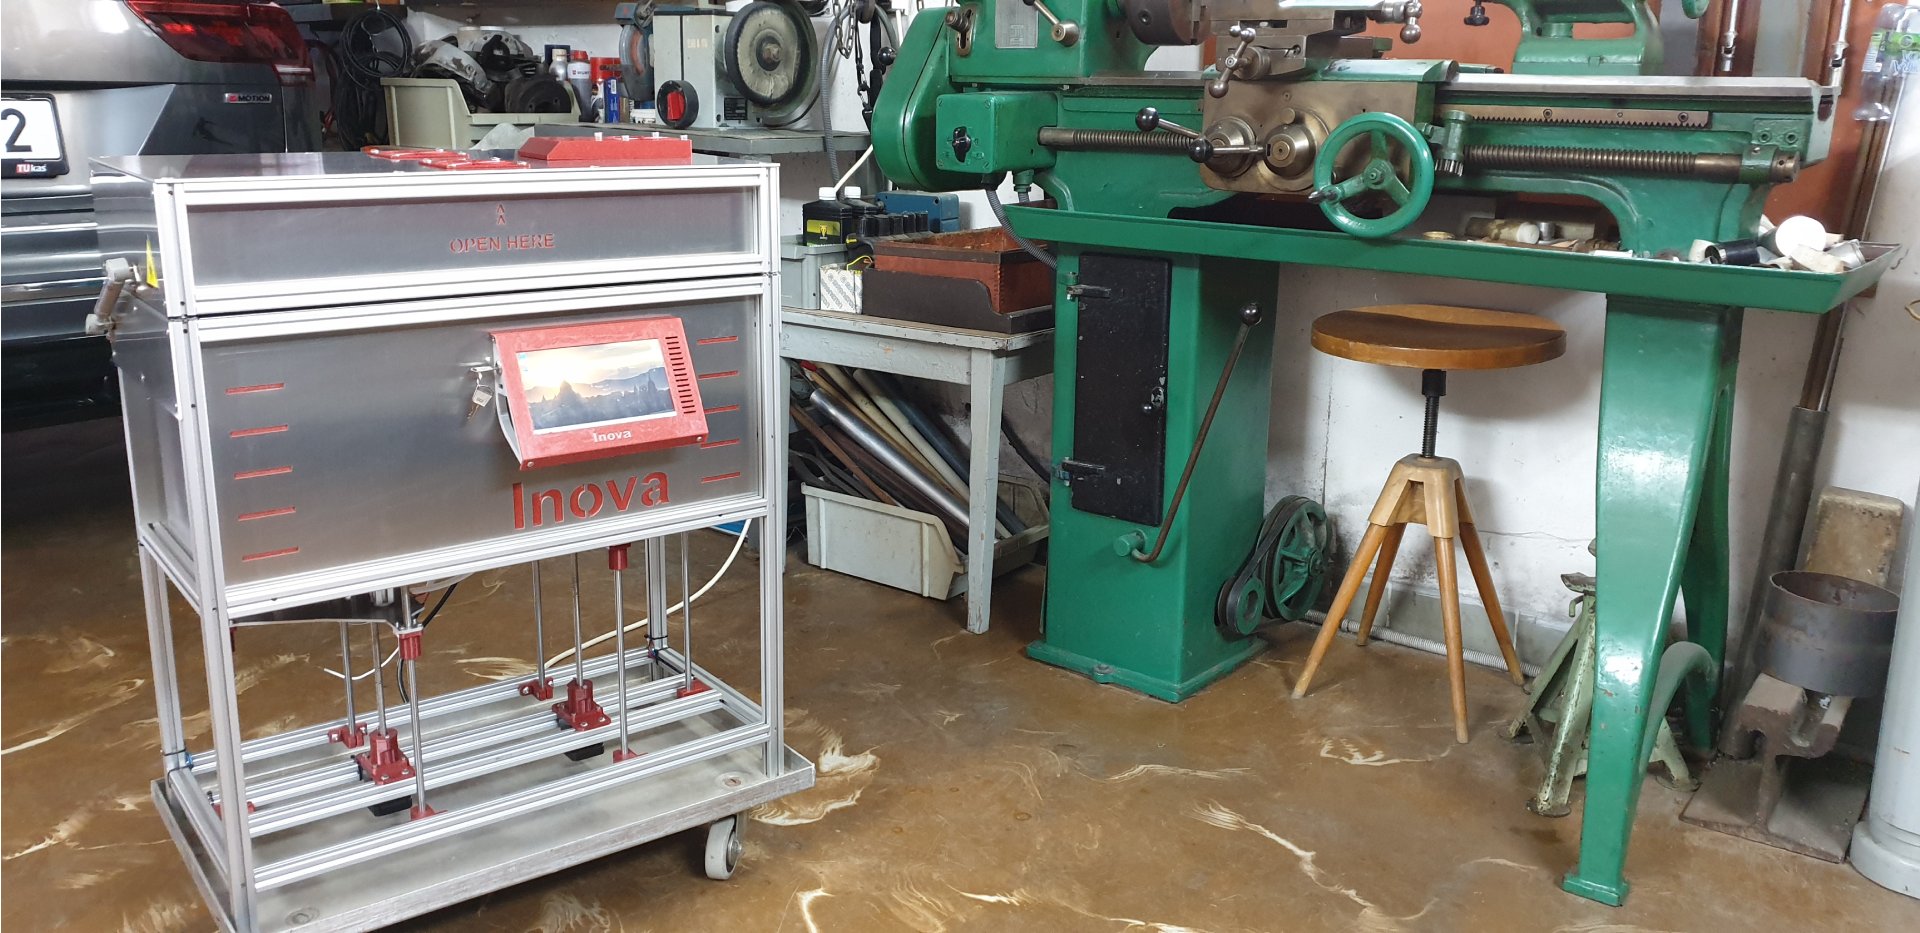
- build and put together all mechanical elements
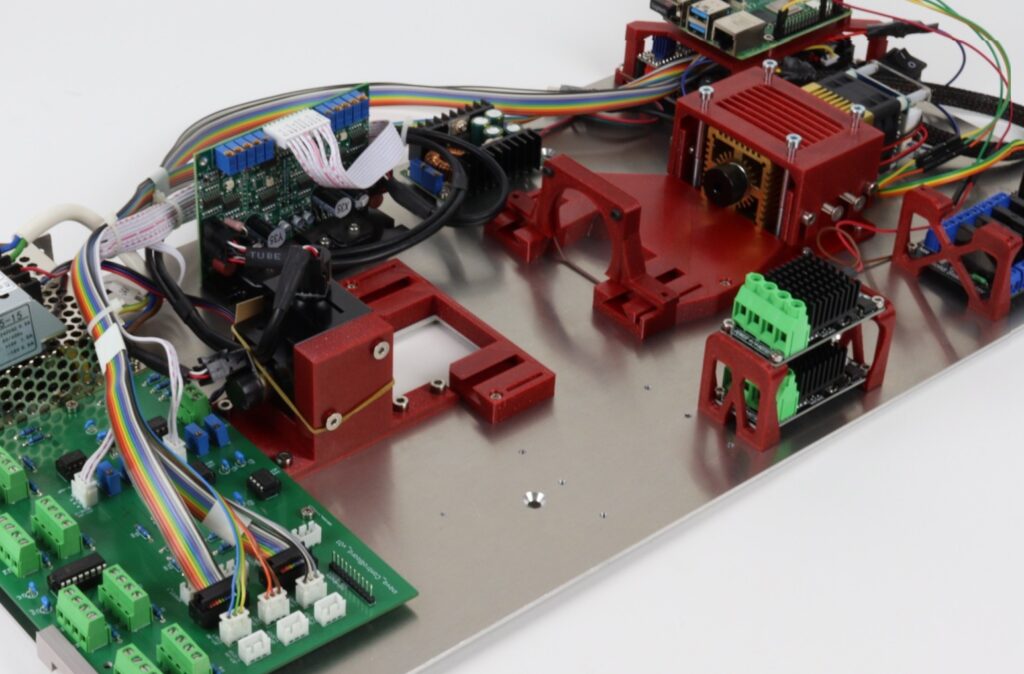
- completed electronics arrangement
- found functional optical setup
- made initial modification of the Klipper FW and prepared printer’s control SW for testing purposes
- done partial tests like stepper moves, galvo moves, laser functionality incl. PWM regulation, recoater moves, etc.
- started to prepare the project documentation – STL files, part lists, etc.
Photos documenting my progress are in galleries. Actually, I have prepared two – Build and Workshop one.
Last thing before end – I call my printer Inova 😉
—
Join us on Discord


